LipSync Documentationbeta
Welcome to the new online documentation for LipSync Pro and Lite.
This area will be updated with new information and tutorials when available.
Welcome to the new online documentation for LipSync Pro and Lite.
This area will be updated with new information and tutorials when available.
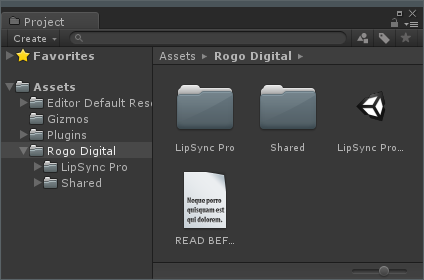
After downloading and importing LipSync from the Asset Store, the following directory structure will have been created in your project:

Make sure to read and follow the instructions in the text file before importing the
LipSyncPro_1.XX UnityPackage.
Once the import is complete, you will have a few other directories in your project:
You can safely delete the UnityPackage now if you wish. If you're using LipSync Lite you're finished with setup, but LipSync Pro users can continue to set up AutoSync and advanced features.
Since version 1.5, we have included a setup wizard to handle this setup process automatically. You can get to this wizard from the Window > Rogo Digital > LipSync Pro > AutoSync Setup Wizard menu, or from the AutoSync > Setup menu inside the Clip Editor. Once opened, you'll see a screen like the following:

The wizard should have auto-detected the correct version of the SoX audio-conversion application
bundled with LipSync Pro based on your operating system. This and any other paths will be stored
globally (not project-specific) so it's best to leave the relative path here.
Press the "Continue" button to move to the next step, where the wizard will check which AutoSync
Modules you have installed. See the AutoSync documentation for more details on this system.
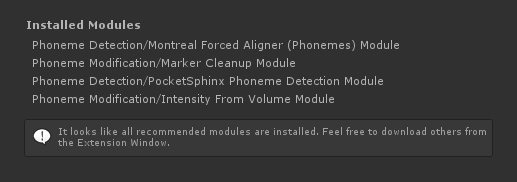
We recommend installing the "Montreal Forced Aligner Module" for best results from AutoSync and
compatibility with macOS. If this module isn't installed, you should see a button to download it on this page:

Clicking this button will cause the Extensions Window to open and start downloading the module. Wait for this to finish. When complete, the window should close and the setup wizard should now report that all recommended modules are installed.
Clicking "Continue" now will take you to a settings screen for any modules installed. By default, if you only have the pre-installed modules and the downloaded Montreal Forced Aligner module, you'll only see settings for that module here. Again, any paths required should be auto-detected and relative to the project - if not, you may have to manually browse for the files.

Press "Finish" to save these settings. AutoSync is now set-up and ready to use according to the AutoSync Guide. If you install other modules in the future, you can run this wizard again to set them up - not all modules will require this, and it won't disturb any existing settings you have unless you change them.
On Windows, the AutoSync system requires the Microsoft Visual C++ runtime to be installed. If
you're certain you already have it installed, you can skip this step.
Otherwise, the correct version can be easily downloaded using the Extensions window. In Unity's
menu bar, go to Window > Rogo Digital > Get Extensions to open it. You should see a
window similar to this:
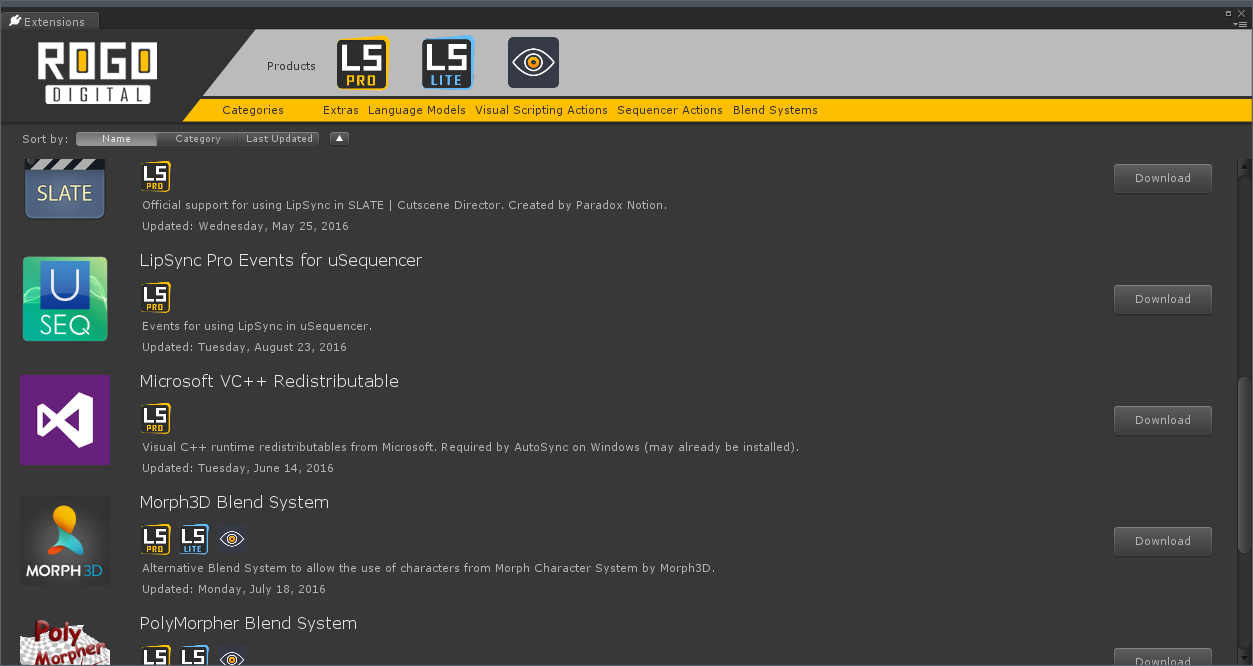
Find the Microsoft VC++ Redistributable entry and press download. When the download is complete, click import on the import window that opens, then run the .exe contained in the package.
LipSync Pro can make use of a 3rd party application called SoX in order to convert and split
audio files, and get around some of the limitations of AutoSync's underlying technology.
SoX is available for both Windows and Mac OS X, and can be downloaded here.
Note: Without SoX installed, AutoSync can only process uncompressed, 16KHz, 16-bit, mono .wav
files.
After downloading and installing this somewhere on your computer, go back into Unity, open the
Clip Editor (Window > Rogo Digital > LipSync Pro > Open Clip Editor), click the settings
button ( ) and go to the AutoSync
tab.
) and go to the AutoSync
tab.
From there, press the Browse button next to SoX Path and find where you installed
SoX. Finally, press the Verify button to confirm. If the correct file was selected, the
red circle should turn green, and AutoSync is ready to use with almost any audio file.